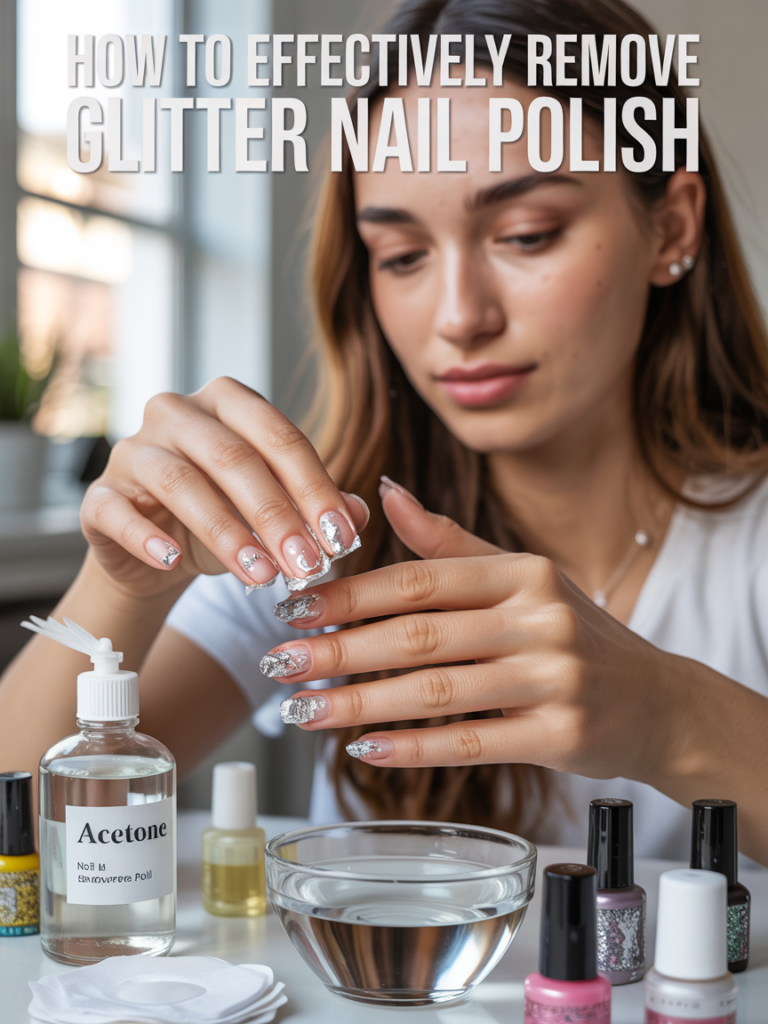
Glitter nail polish is undeniably glamorous — it catches the light, elevates any look, and makes your fingertips sparkle like never before. But anyone who has tried to remove it knows the frustration all too well. Unlike regular polish, glitter nail polish is notoriously stubborn. The tiny metallic or iridescent particles cling to the nail surface, resisting even the most vigorous scrubbing. The good news? With the right techniques and tools, removing glitter nail polish doesn’t have to be a battle. This comprehensive guide walks you through 10 essential points to make the process quick, easy, and completely stress-free.
Why Is Glitter Nail Polish So Hard to Remove?
Glitter polish contains dense metallic flakes and particles that don’t dissolve as easily as regular pigment. Most glitter manicures require multiple coats, creating a thick, layered surface. On top of that, many glitter formulas use a stronger adhesive base to keep particles in place — great for wear, but a nightmare for removal. Understanding this is the first step to tackling it the right way.

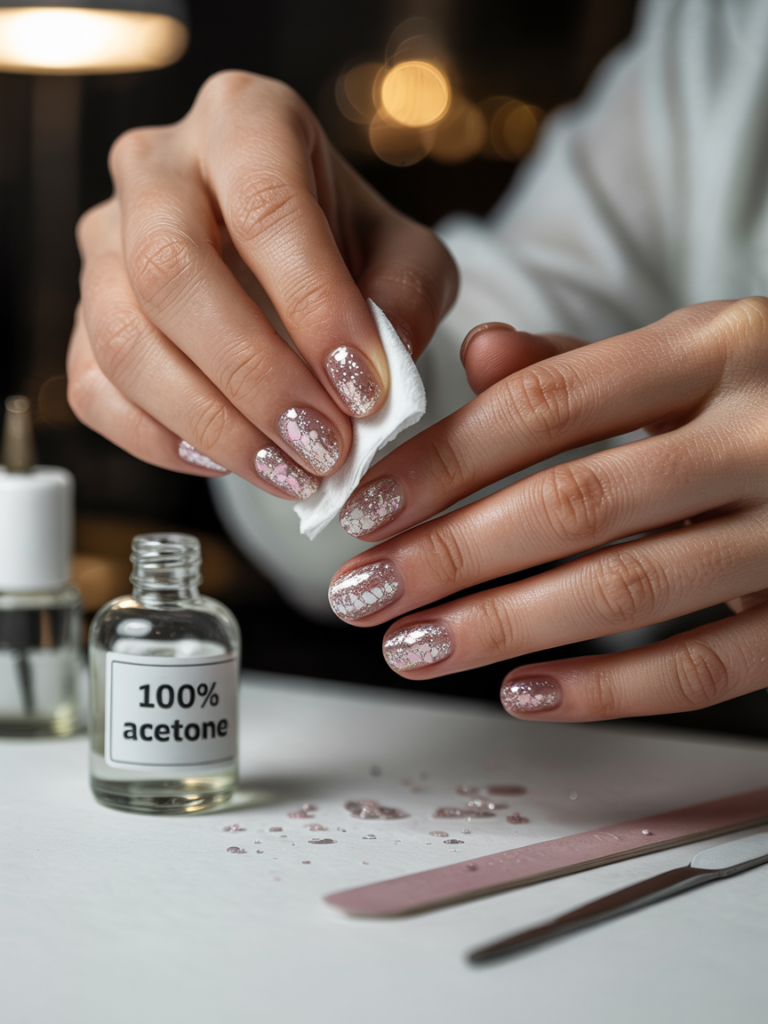
Always Use Acetone-Based Remover, Not Non-Acetone
The single biggest mistake people make is reaching for a gentle, non-acetone remover when dealing with glitter polish.
- Pure acetone is the only product that effectively breaks down the dense particles and thick layers of glitter polish.
- Non-acetone removers are too mild and will leave you scrubbing for a long time with poor results.
- Pure acetone is available at most drugstores and beauty supply stores at a very affordable price.
- Yes, acetone is drying — but with proper aftercare (moisturizing), your nails will be completely fine.
- Pro tip: Look for 100% pure acetone rather than acetone-based blends for the fastest results.
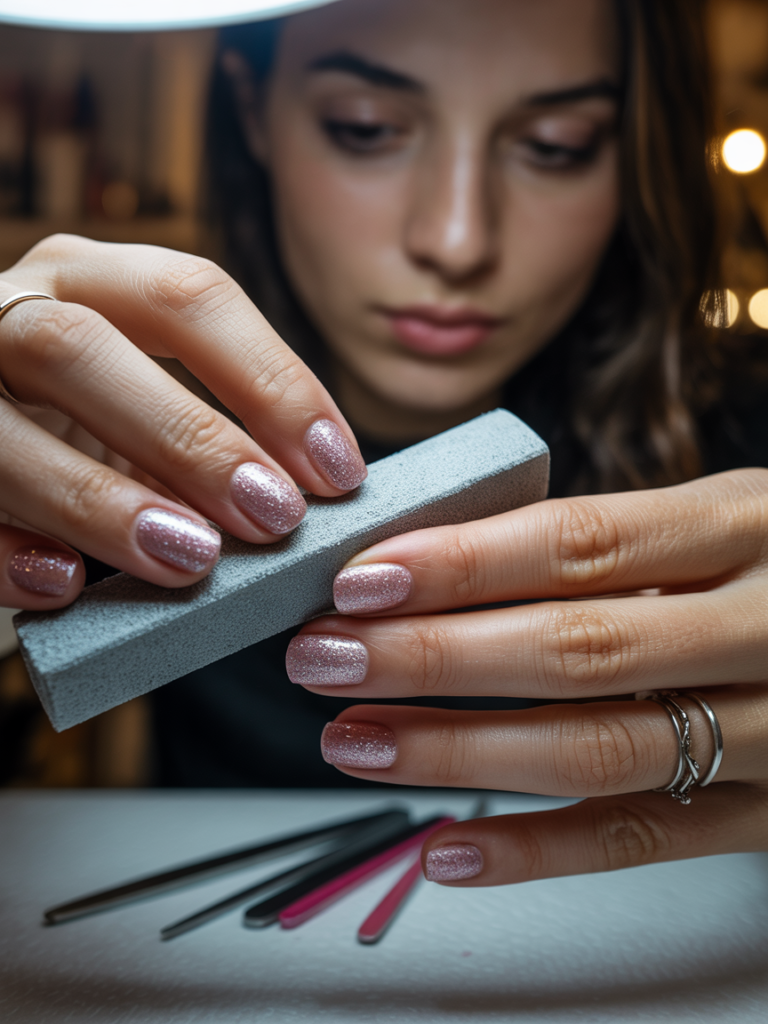
Lightly File the Top Surface Before You Start
This step is overlooked by almost everyone, yet it makes a huge difference.
- Use a fine-grit nail buffer or file to gently scuff the top surface of your glitter polish before applying any remover.
- This breaks the seal of the top coat and allows acetone to penetrate the glitter layers much faster.
- You don’t need to file aggressively — just two or three light passes across the nail surface is enough.
- Skipping this step means you’ll need to soak much longer or scrub harder, which is harder on your nails.
- Be especially careful near the edges and cuticle area to avoid filing the skin.
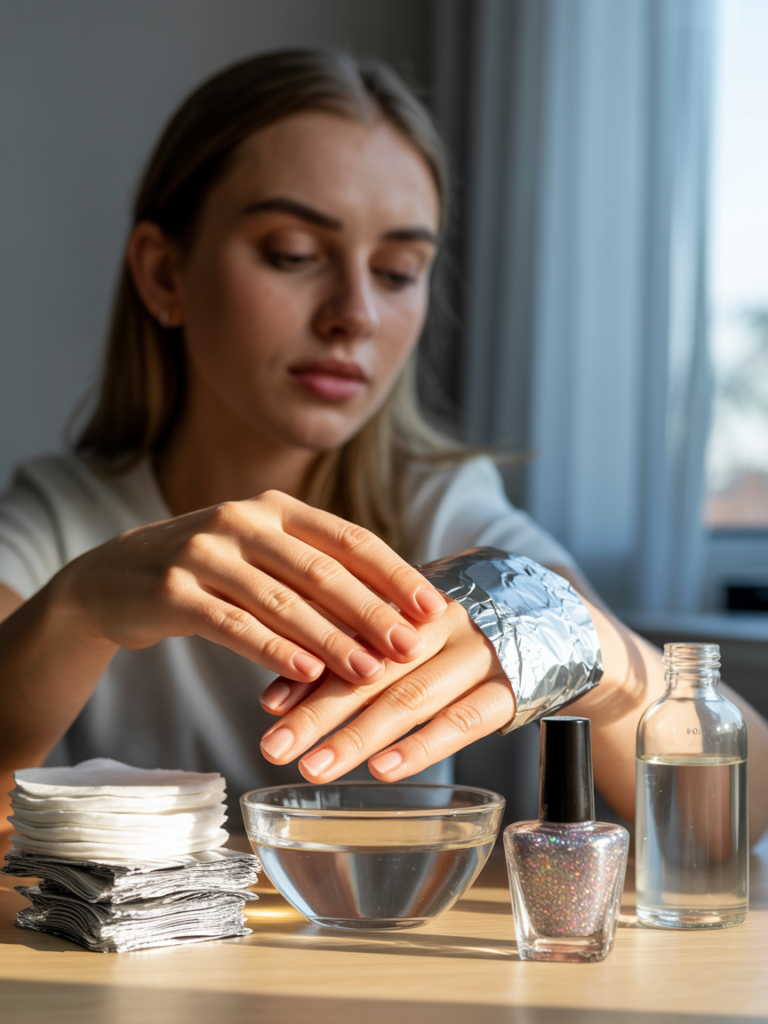
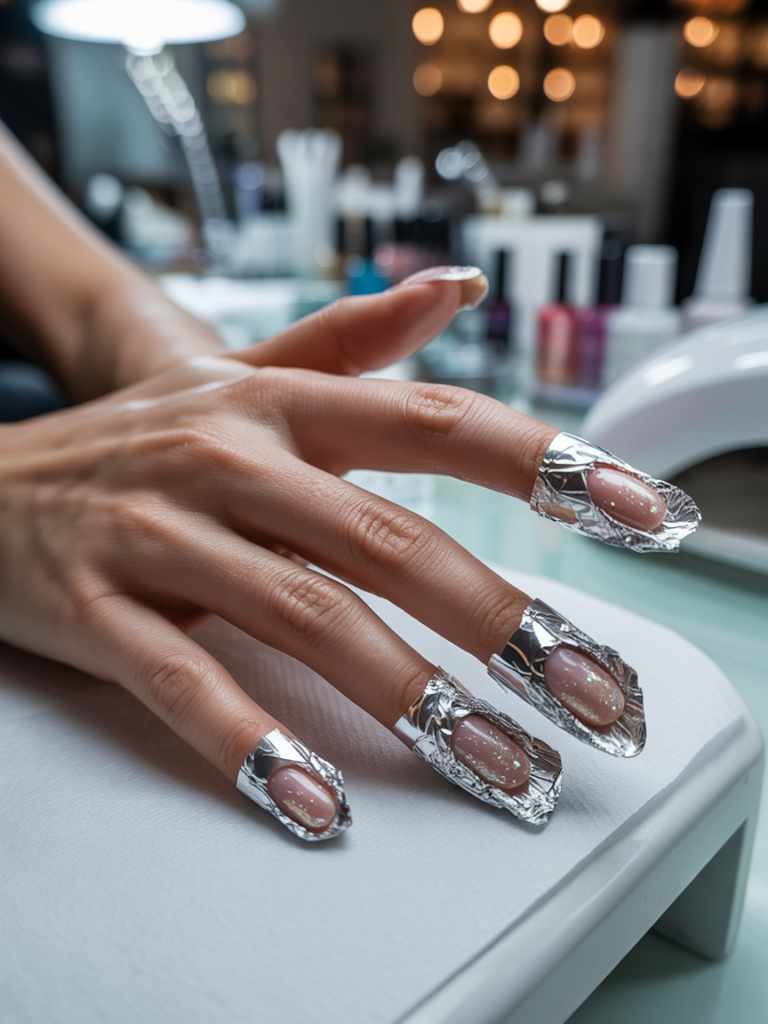
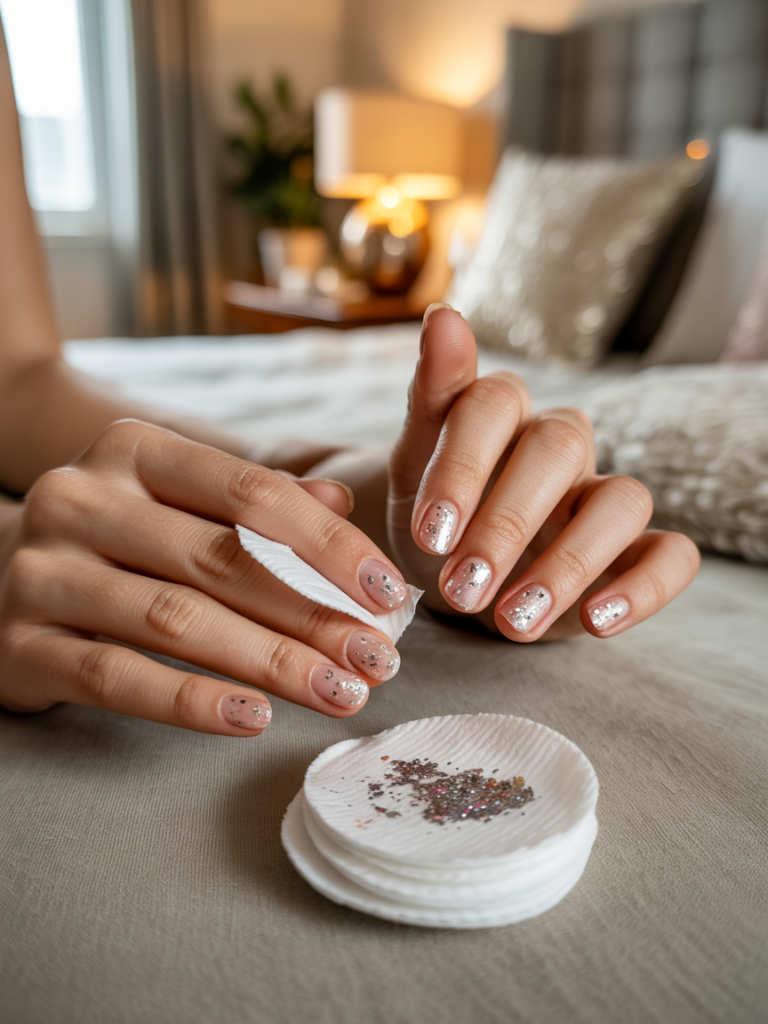
Use the Foil Soak Method for Best Results
The foil wrap method is the gold standard technique used by professional nail technicians worldwide.
- Cut small squares of aluminum foil large enough to wrap around your fingertip.
- Soak a cotton ball or thick cotton pad in pure acetone until it’s fully saturated.
- Press the soaked cotton flat against your nail, covering the entire nail bed.
- Wrap the foil tightly around the cotton and fingertip to hold everything in place.
- The foil does two important things: it keeps the cotton pressed against the nail and traps body heat, which speeds up the chemical reaction of the acetone.
- Let it sit for a full 10 to 15 minutes without peeking.
- When time is up, press and twist the foil off in one smooth motion — the dissolved glitter will wipe away with it.
- This method requires the least amount of scrubbing and is the safest for your nail health.
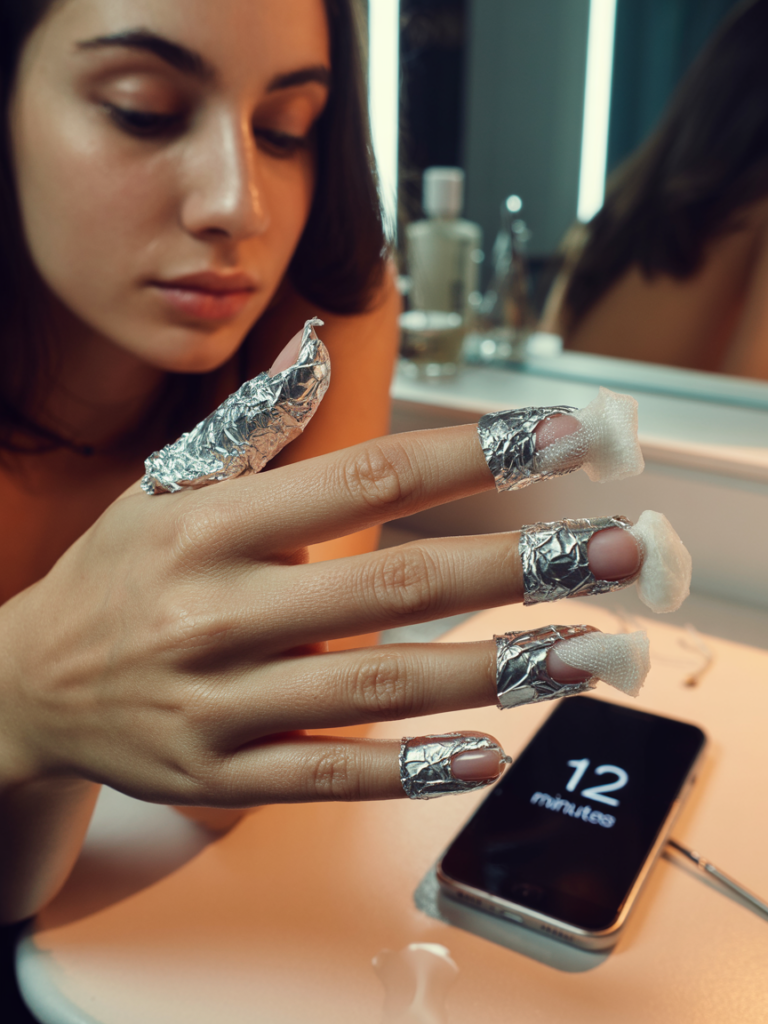
Be Patient — Never Rush the Soak Time
Patience is the most underrated part of glitter polish removal.
- The number one reason people struggle with glitter polish removal is removing the foil too early.
- Acetone needs adequate time to fully break down dense glitter particles and multiple layers of polish.
- If you remove the foil at 5 minutes, you’ll find yourself scrubbing and re-soaking — which takes more time overall and damages nails.
- Set a timer for 10–15 minutes and walk away. Do something else while you wait.
- For extra-thick glitter manicures or chunky glitter particles, extend the soak time to up to 20 minutes.
- The polish should look visibly dissolved and bubbly when you remove the foil — that’s how you know it’s ready.
Use Fresh Cotton for Every Nail
This small habit makes a big difference in both effectiveness and nail health.
- Once you use a cotton ball or pad on one nail, discard it and use a fresh piece for the next nail.
- A used cotton ball carries dissolved polish and glitter particles that can scratch the nail surface if reused.
- Fresh cotton also ensures you’re applying full-strength acetone each time, rather than a diluted, polish-contaminated version.
- Use thick cotton balls or salon-quality cotton pads — thin cotton or tissue paper doesn’t hold enough liquid and falls apart during use.
- Keep a full supply of cotton ready before you start so you’re not stopping mid-removal to find more.
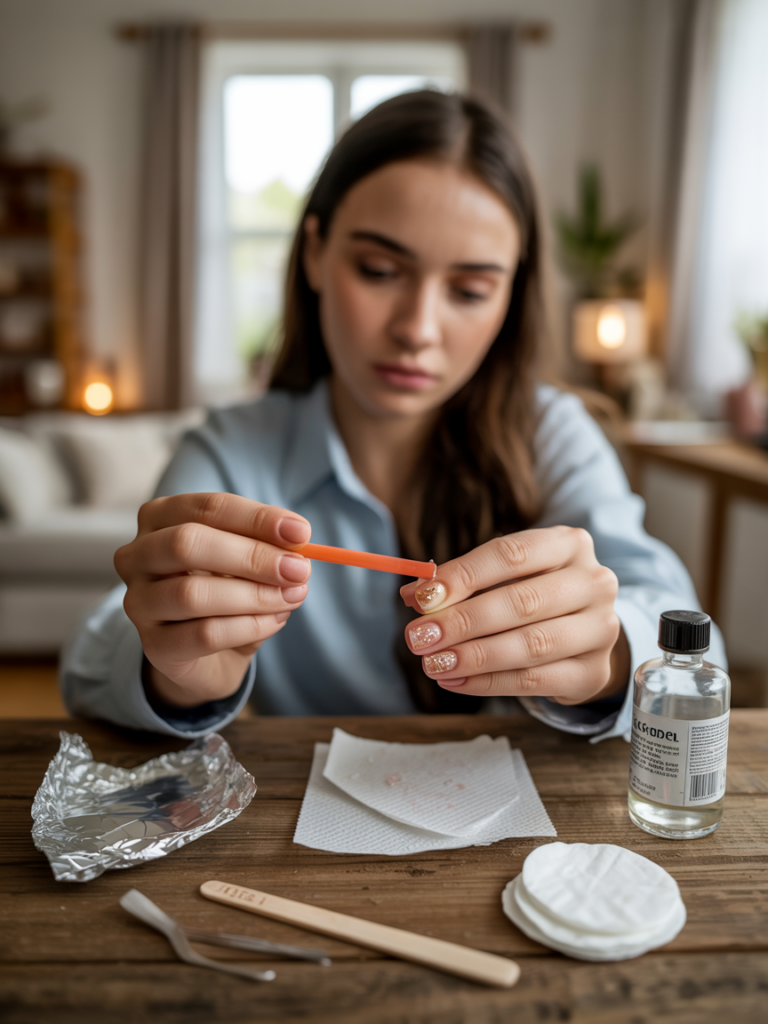
Use an Orange Stick for Stubborn Leftover Glitter
Even after a perfect foil soak, a few stubborn glitter particles may remain. Here’s how to deal with them cleanly.
- After removing the foil, use a wooden or plastic cuticle pusher (orange stick) to gently nudge off any remaining glitter.
- Push in one direction rather than scrubbing back and forth — this lifts the particles instead of embedding them further.
- Never use metal tools on the nail surface, as they can cause scratches and thin the nail plate.
- If particles are still clinging, simply re-soak a cotton ball with acetone, press it on the nail for another 30–60 seconds, and wipe again.
- Avoid picking at glitter with your fingernails, as this can cause peeling of the nail surface.
Try the Peel-Off Base Coat Trick for Your Next Manicure
If you’re planning your next glitter manicure, set yourself up for easy removal from the very beginning.
- Apply a peel-off base coat before your glitter polish so the entire manicure can be lifted off in one piece when you’re done.
- A popular DIY hack is applying a thin layer of regular white school glue (like Elmer’s Glue) as a base — let it dry completely, then apply your glitter polish on top.
- Dedicated nail products like ORLY Peel-Off Base Coat or similar products are also widely available and very effective.
- When removal time comes, simply use an orange stick to lift one edge of the polish and peel the entire manicure off in one sheet — no acetone needed at all.
- This method is especially great for people with sensitive, dry, or brittle nails who want to limit acetone exposure.
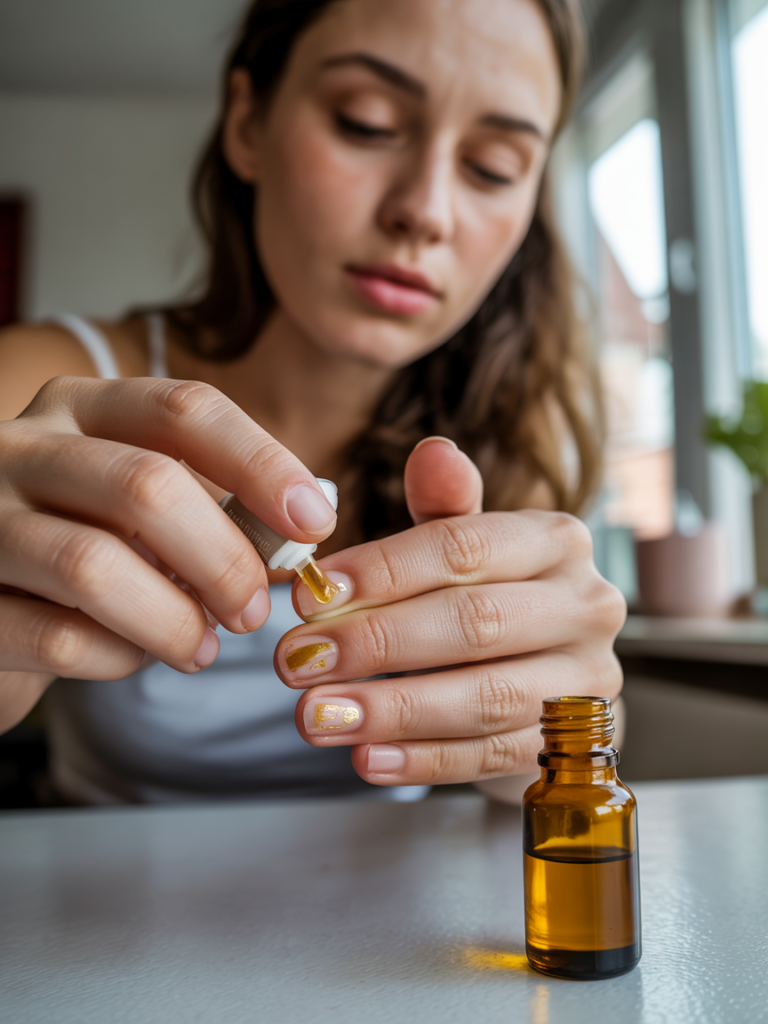
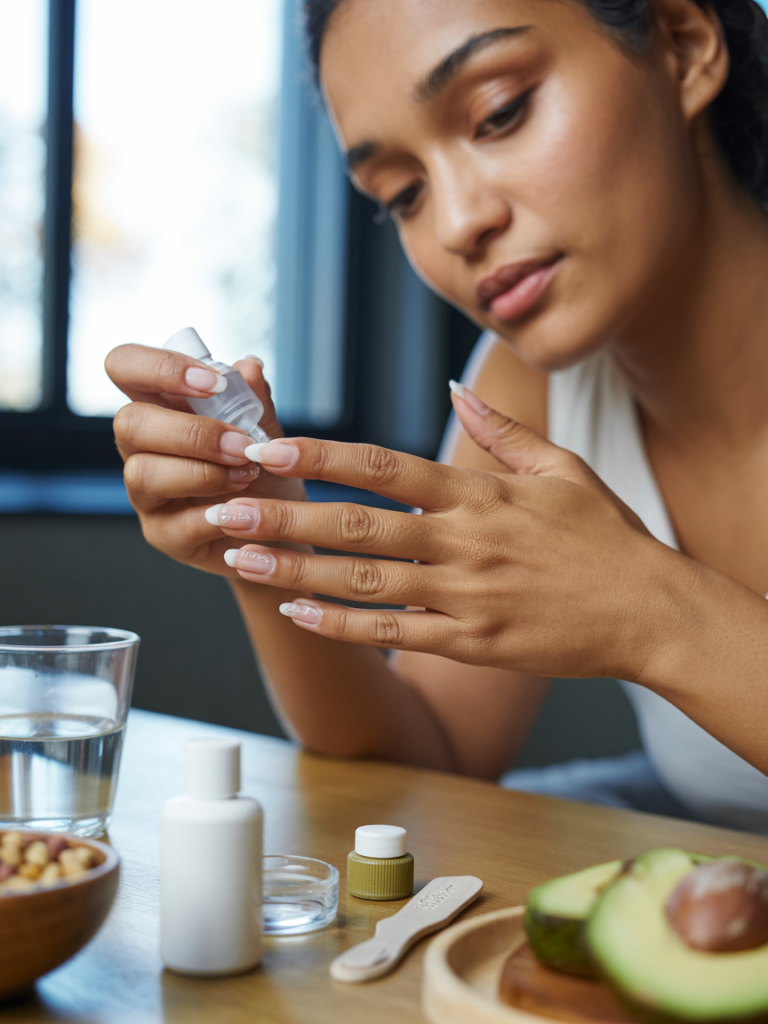
Moisturize Immediately After Removal
Post-removal nail care is non-negotiable — especially when acetone is involved.
- Acetone is a powerful solvent that strips your nails and surrounding skin of their natural oils, leaving them dry and brittle if not treated.
- As soon as you finish removing all polish, wash your hands with mild soap to remove any acetone residue.
- Immediately apply cuticle oil to each nail and the surrounding skin. Jojoba oil, argan oil, vitamin E oil, and coconut oil are all excellent choices.
- Massage the oil in thoroughly, paying special attention to the cuticle area, which tends to dry out the most.
- Follow up with a rich hand cream or moisturizer to lock in hydration across your hands and fingers.
- If your nails feel particularly dry or weak, apply a nail strengthening treatment or keratin treatment for a few days before your next manicure.
Give Your Nails a Rest Between Glitter Manicures
Your nails need breathing time, especially after repeated glitter polish applications and acetone removals.
- Take a break of at least 1–2 days between removing glitter polish and applying a new manicure.
- During this rest period, keep your nails moisturized and avoid harsh chemicals like cleaning products without gloves.
- Consider using a nail strengthener or clear treatment coat during the break period to help rebuild the nail surface.
- If your nails appear thin, peeling, or discolored after removal, extend the break to a full week to allow proper recovery.
- Eating a biotin-rich diet (eggs, nuts, whole grains, avocado) and staying hydrated supports faster, stronger nail regrowth from the inside out.
- Wearing gloves during household chores — washing dishes, cleaning, gardening — protects your recovering nails from further damage.
Know Which Glitter Formulas Are Easier to Remove
Not all glitter nail polishes are created equal — and knowing what you’re working with helps you choose the right removal strategy.
- Fine shimmer polishes (tiny, metallic shimmer particles) are the easiest to remove and often come off with minimal soaking.
- Chunky glitter polishes (large hexagonal or irregular glitter pieces) are the most stubborn and always require the full foil soak method.
- Glitter topcoats applied over a regular polish base tend to come off more easily than full-formula glitter polishes.
- Gel glitter polish requires a completely different approach — gel-specific acetone removal with longer soak times of 20–30 minutes or professional removal at a salon.
- When shopping for glitter polish, look for labels that say “easy removal” or “soakable formula” — these are specifically designed to dissolve more quickly.
- Premium brands like Zoya, OPI, and Essie generally formulate their glitter polishes to be more removal-friendly than ultra-cheap alternatives.

Bonus Tips: Quick Reminders for Stress-Free Removal Every Time
- Always work in a well-ventilated area when using acetone — the fumes are strong.
- Keep a small bowl of warm water nearby to soak your fingertips if skin feels irritated during removal.
- Pre-cut your foil squares the night before for a smoother, faster removal session.
- Never soak your fingers directly in a bowl of acetone — this causes far more dryness than the foil method and is unnecessary.
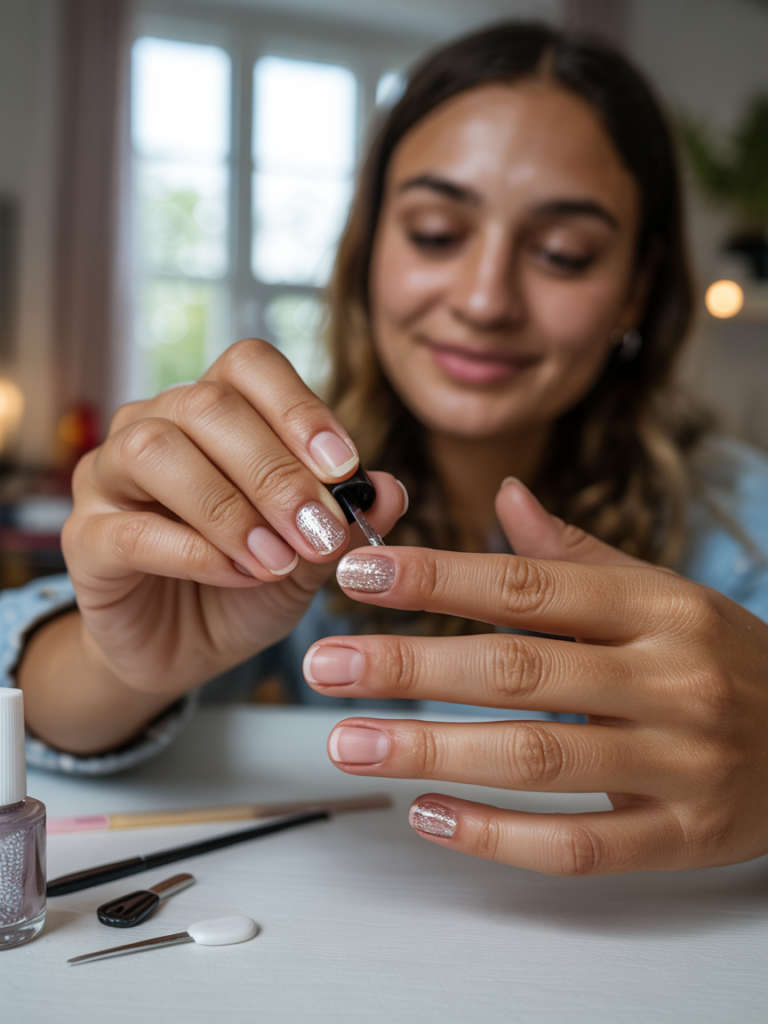
- Store your glitter nail polish upside down for a few seconds before use to redistribute settled glitter particles for even application — and easier removal later.