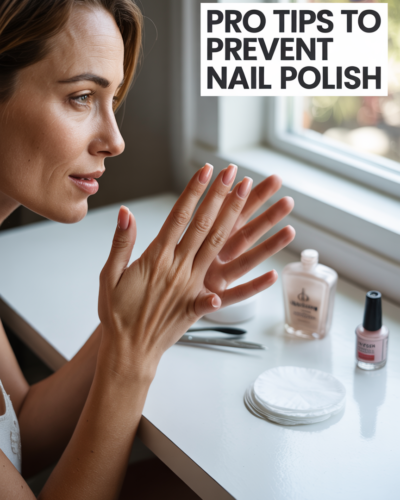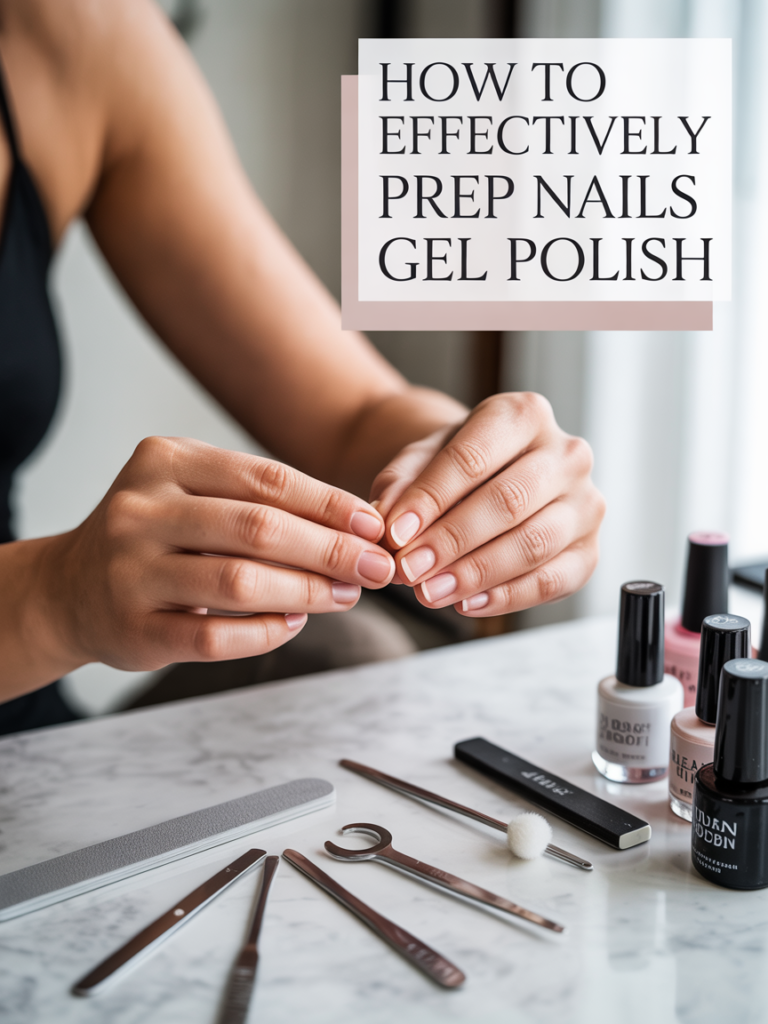
If you want your gel manicure to look flawless and last for weeks without chipping or lifting, proper nail prep is the secret. Many people focus on the polish itself, but the real magic happens before the color even touches your nails. In this guide, you’ll learn how to prep your nails for gel polish like a pro—right from the comfort of your home.
Below, you’ll find a simple step-by-step guide that clearly explains each part of the nail prep process.
By following these easy steps, you can achieve long-lasting, salon-quality gel nails at home without any hassle.
Why Nail Prep is Important for Gel Polish
Proper nail preparation is essential because it creates the perfect base for gel polish to adhere to. Skipping prep can lead to early chipping, uneven application, and damage to your natural nails. With the right steps, you can significantly improve both the durability and appearance of your manicure.
- Enhances the longevity of gel polish
- Prevents lifting, peeling, and chipping
- Ensures smooth and even application
Taking the time to prep your nails properly may seem simple, but it makes a noticeable difference. Well-prepped nails not only look professional but also keep your natural nails healthy and strong, giving you a manicure that truly lasts.
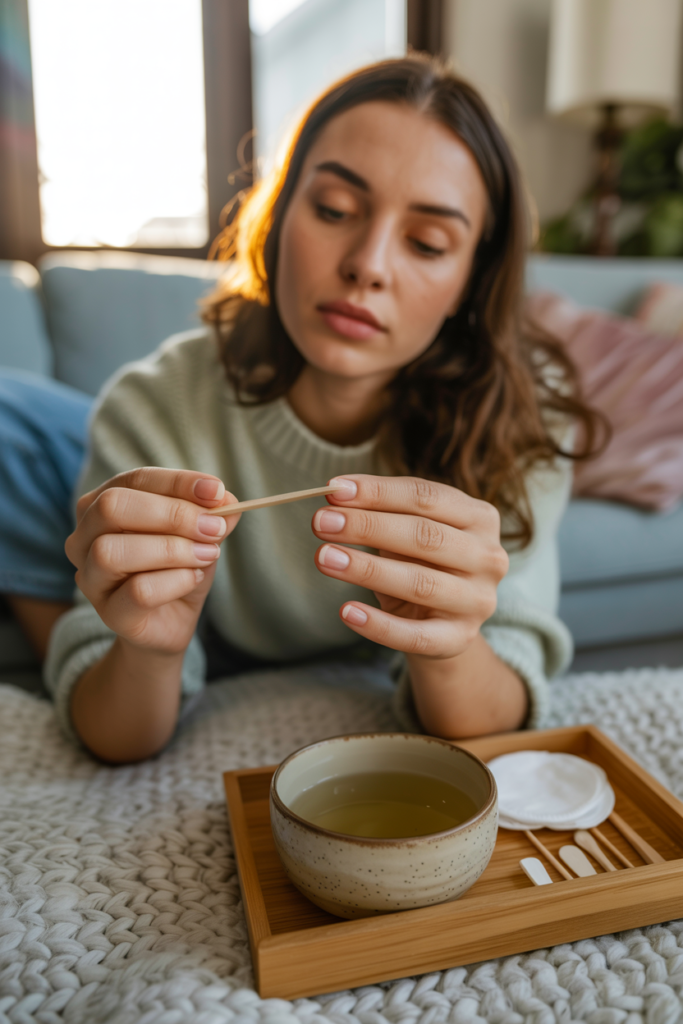
1. Start with Clean, Bare Nails
The first and most important step is to ensure your nails are completely clean and free from any previous polish, oils, or dirt. A clean surface allows the gel polish to adhere properly and prevents early lifting or chipping. Always use a good remover and wash your hands afterward for best results.
- Remove old polish completely
- Wash hands thoroughly
- Dry nails properly
- Avoid applying lotion before prep
Starting with clean nails is the foundation of a long-lasting gel manicure. Without removing oils, dirt, and old polish, even the best gel products won’t stick properly, leading to chipping or peeling within days. Taking the time to cleanse thoroughly sets the stage for a professional-quality finish.
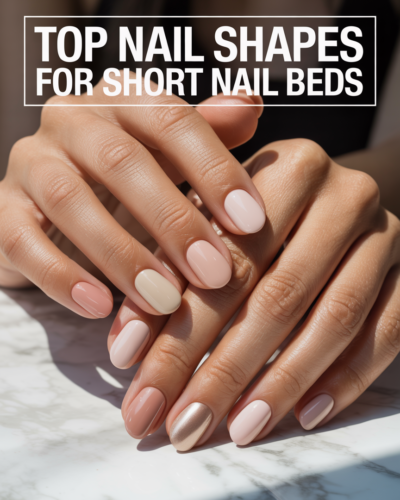
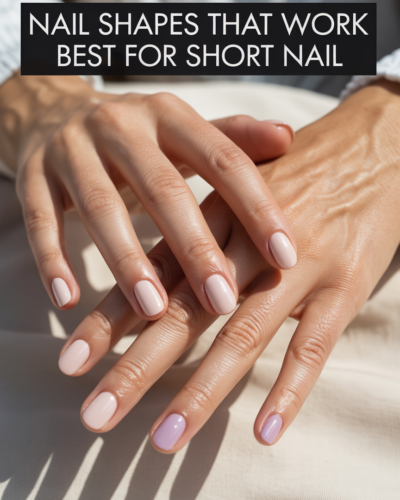
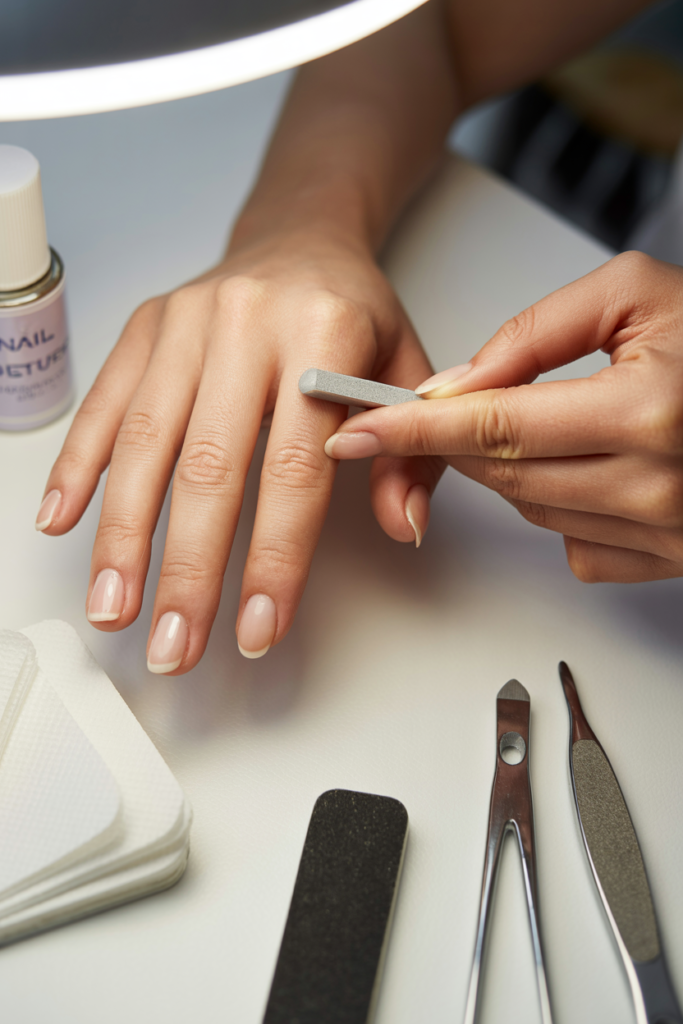
2. Shape Your Nails Properly
Shaping your nails gives them a neat and professional appearance while also helping the gel polish apply evenly. Choose a shape that suits your fingers and lifestyle, and make sure all nails are consistent in length and style.
- Use a quality nail file
- File in one direction only
- Keep nail shapes consistent
- Smooth out rough edges
Proper shaping is not just about aesthetics—it also prevents snags and breaks that can ruin a manicure. Consistency across all nails makes the final gel polish look uniform and polished, similar to what you’d expect from a salon.
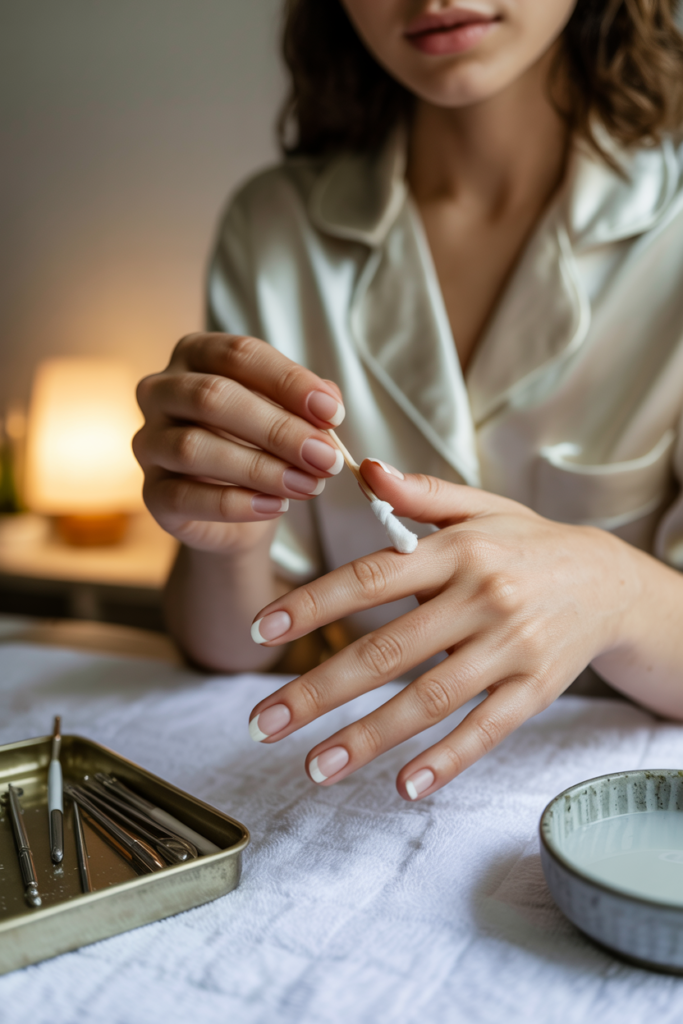
3. Push Back Cuticles Gently
Cuticles can block gel polish from sticking to the nail surface, which may cause lifting. Gently pushing them back helps expose more of the nail plate and creates a cleaner base for application without damaging the skin.
- Use a cuticle pusher or stick
- Soften cuticles before pushing
- Do not cut aggressively
- Be gentle to avoid injury
Taking care of your cuticles ensures that the gel polish adheres directly to the nail and prevents unsightly lifting along the edges. Gentle cuticle care also reduces the risk of infection or irritation, keeping your nails healthy while achieving a salon-quality look.
4. Remove Cuticle Residue
After pushing back your cuticles, some residue may remain on the nail plate, which can prevent gel polish from adhering properly. Cleaning this residue ensures a smooth and even surface for flawless application.
- Use a cuticle remover if needed
- Gently clean the nail plate
- Focus near the cuticle area
- Keep the surface smooth and clear
Removing cuticle residue is a subtle but crucial step in nail prep. Even tiny bits of leftover skin or debris can cause gel polish to lift prematurely. By ensuring the nail plate is completely clean, you create a strong foundation for a long-lasting manicure.
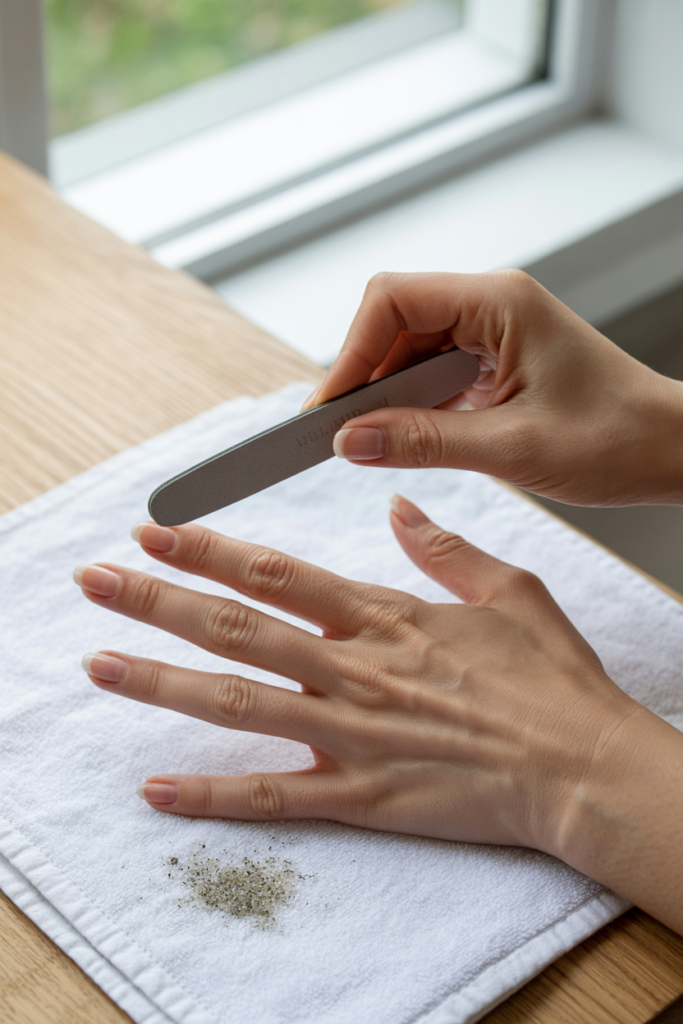
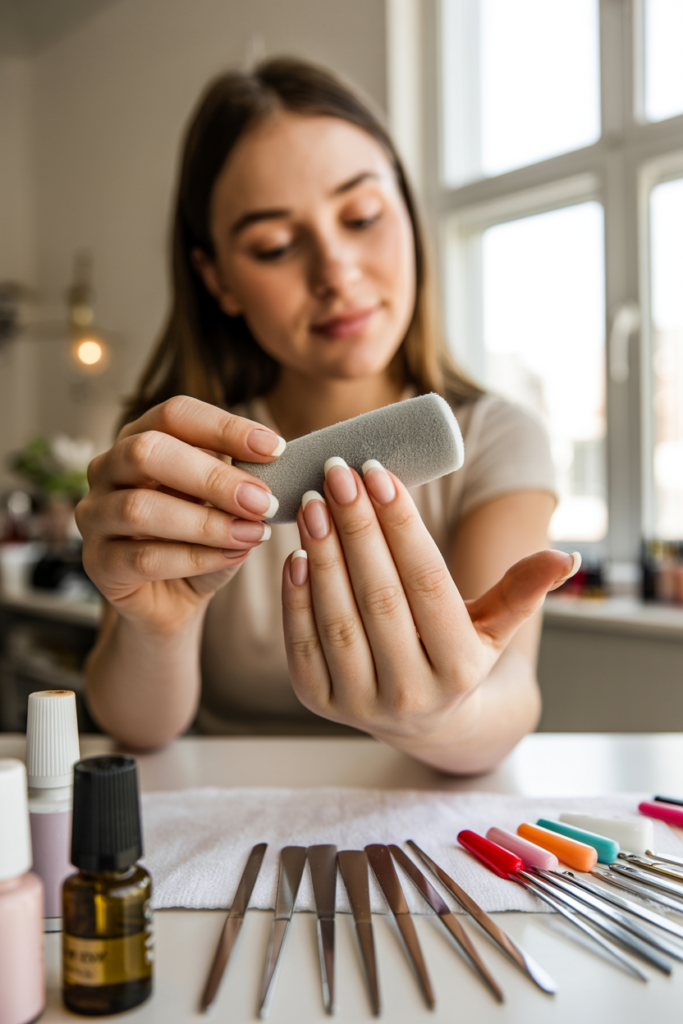
5. Buff the Nail Surface
Buffing helps remove the natural shine from your nails, creating a slightly rough texture that allows gel polish to grip better. This step is essential for improving durability and preventing early peeling.
- Use a fine-grit buffer
- Buff lightly and evenly
- Remove only the shine
- Avoid over-buffing the nail
Buffing is not about making nails look perfect—it’s about preparing them to hold gel polish effectively. Over-buffing can weaken nails, but gentle buffing ensures the gel adheres well, giving your manicure a professional, long-lasting finish.
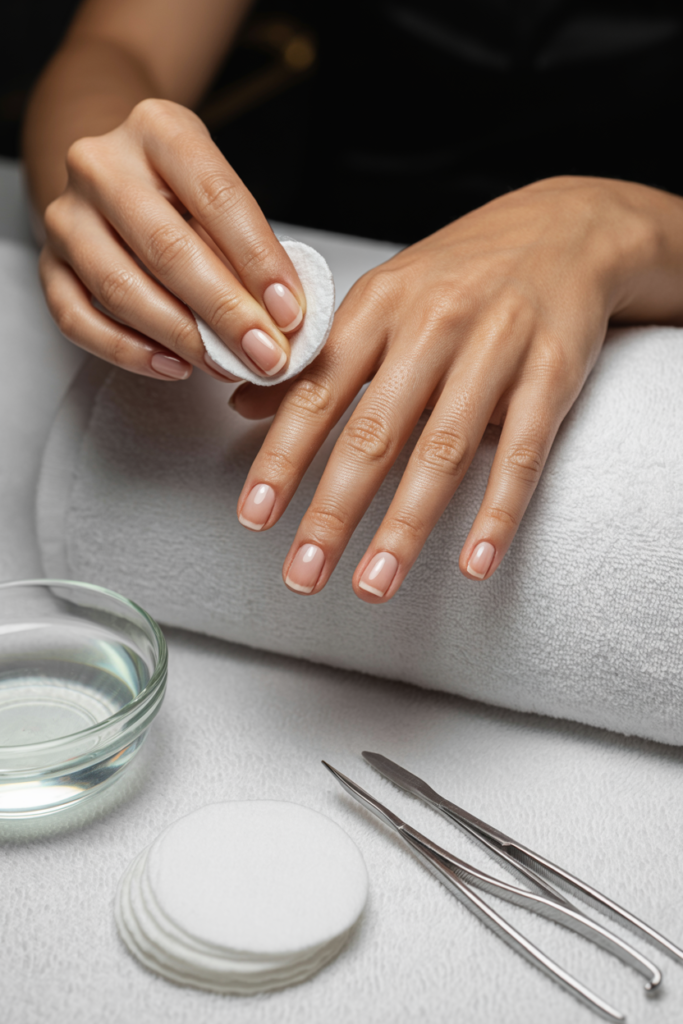
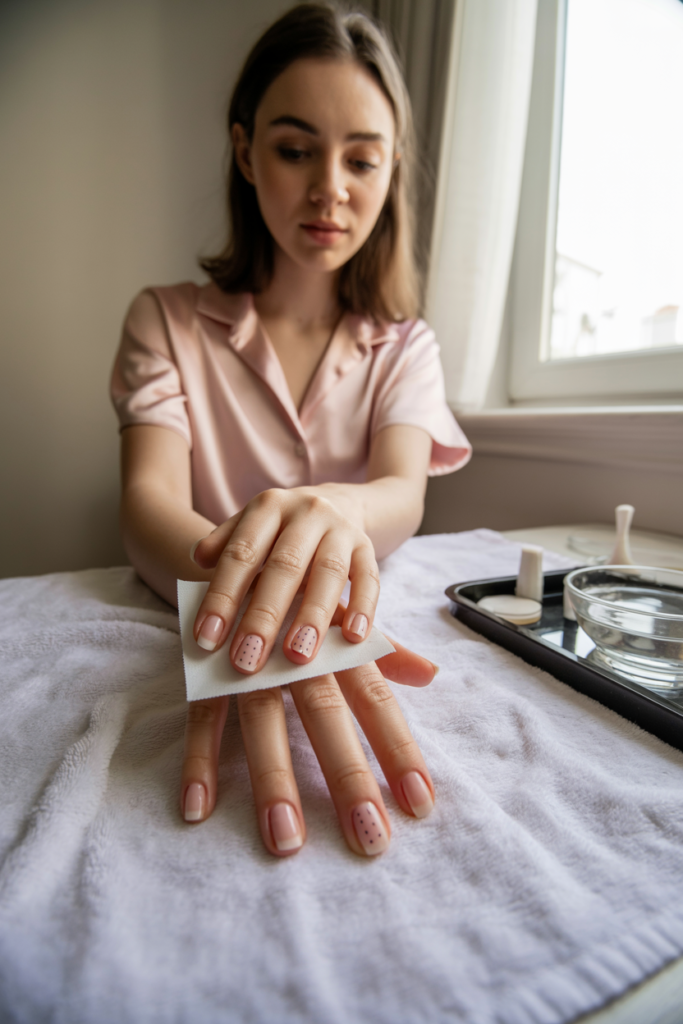
6. Cleanse the Nails Again
Once buffing is complete, tiny dust particles remain on the nail surface. Cleaning your nails again ensures nothing interferes with gel polish application, providing a smooth, flawless finish.
- Use a lint-free wipe
- Apply nail cleanser or alcohol
- Remove all dust completely
- Ensure nails are fully dry before next step
Cleansing after buffing removes all remaining dust and debris, which can create bumps or uneven polish if left on the nails. This final cleaning step guarantees a smooth surface, making your gel polish application look professional and last longer.
7. Dehydrate the Nail Plate
Natural oils and moisture on your nails can prevent gel polish from adhering properly, causing early lifting or chipping. Using a nail dehydrator removes these oils and prepares the nail surface for optimal bonding. This step is particularly important for those with naturally oily nails, as it ensures that the gel polish grips firmly and lasts longer. Proper dehydration also helps prevent bubbles or uneven curing, which can occur when moisture is trapped under the gel layer.
- Apply dehydrator lightly
- Cover the entire nail surface
- Let it air dry quickly
- Avoid touching nails afterward
Dehydrating nails is a small step with a big impact. By removing excess oils, your gel manicure stays intact longer and looks smoother, just like a salon finish.
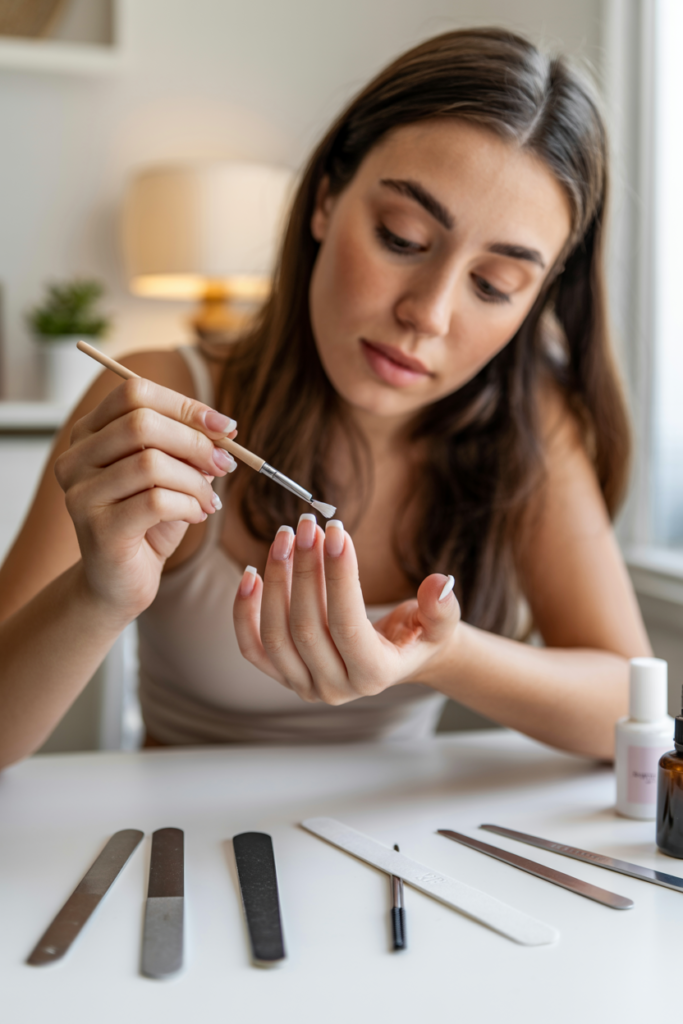
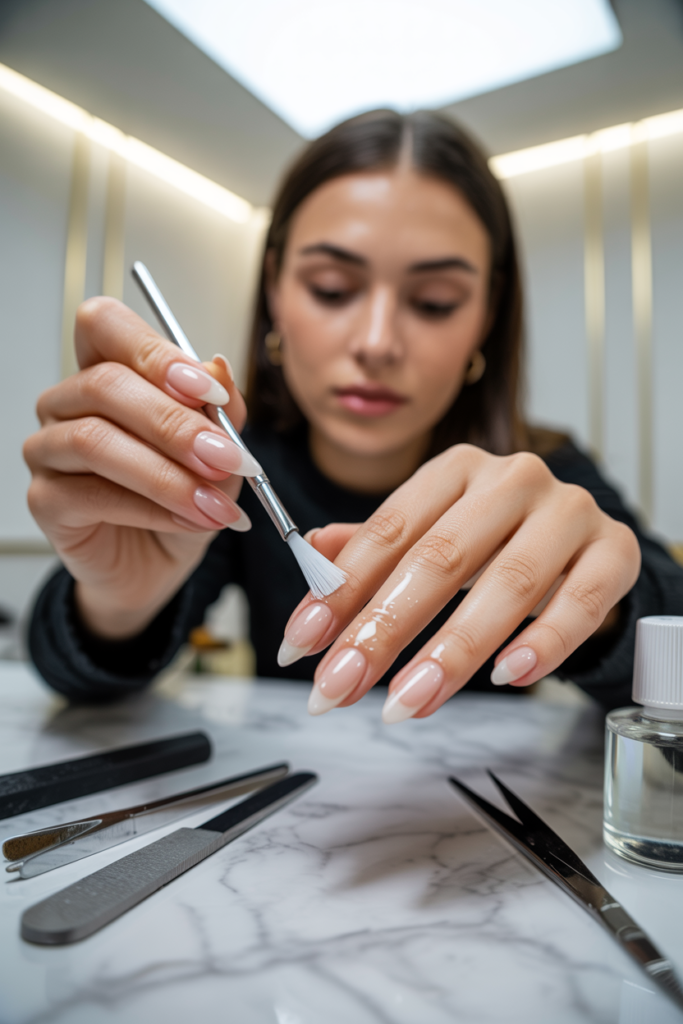
8. Apply a Nail Primer
A nail primer acts as a bonding agent between your natural nail and the gel polish. It enhances adhesion, reduces lifting, and ensures the polish lasts longer. Applying a thin, even layer and letting it dry completely is crucial for achieving professional results.
- Use an acid-free primer
- Apply a thin layer only
- Allow it to dry completely
- Avoid contact with skin
Primer strengthens the connection between your nail and gel polish, making your manicure more durable and resistant to chipping.

9. Choose the Right Base Coat
The base coat is the foundation of your gel manicure, protecting your natural nails and creating a smooth, even surface for the color layers. A high-quality base coat ensures that the gel adheres properly and prevents staining from colored polish.
- Use a high-quality gel base coat
- Apply thin and even layers
- Cap the free edge
- Cure properly under the lamp
Using the right base coat ensures long-lasting results and protects your nails while giving the polish a perfect surface to adhere to.
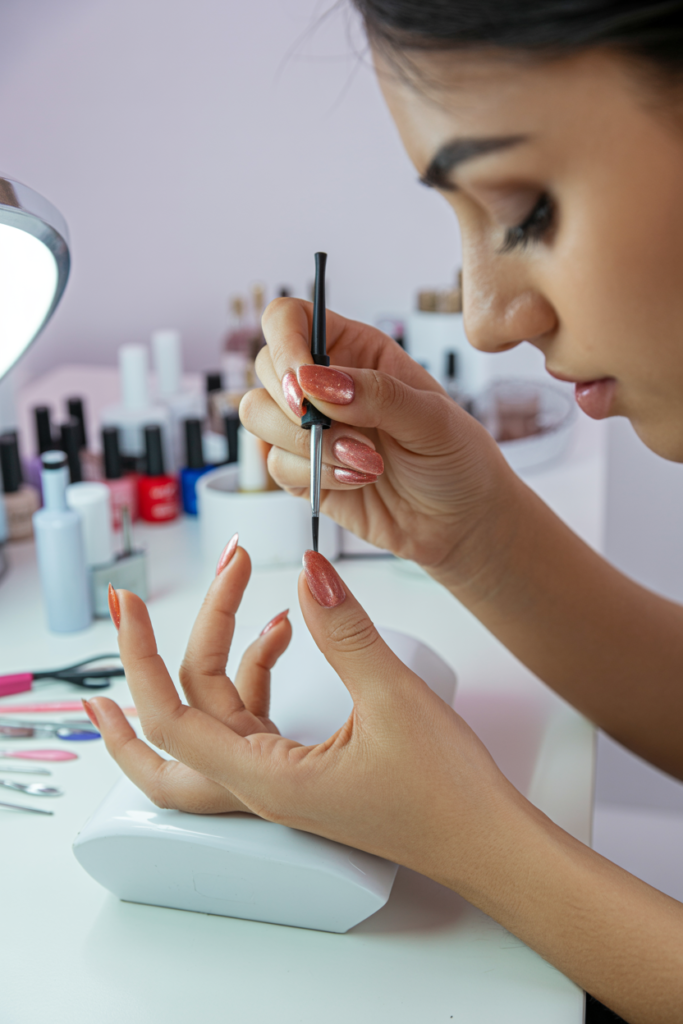
10. Avoid Flooding the Cuticles
Applying gel polish too close to the cuticles can cause lifting, uneven edges, and premature chipping. Leaving a small gap near the cuticle ensures a clean, professional-looking finish while allowing the gel to cure properly without touching the skin. Precision in this step is key to achieving salon-quality results at home.
- Leave a tiny gap near the cuticles
- Use a fine brush for control
- Clean excess immediately
- Maintain even application
Avoiding cuticle flooding keeps your manicure neat and prevents peeling along the edges. It also reduces the need for cleanup and ensures a polished, long-lasting finish.